之前都是制作分开做PE和系统盘,后来自己合成Win10Win11多合一镜像,博客评论区有兄弟提到Ventoy,用了一段时间觉得目前兼容性已经很好了,并且支持主题等个性化配置,遂花了点时间写个教程。
Ventoy下载地址:https://www.ventoy.net/cn/download.html
Ventoy文档:https://www.ventoy.net/cn/doc_news.html
制作启动盘
首先下载 ventoy-1.0.71-windows.zip ,如果github访问不了,底下有各种镜像站和网盘。
下载后解压,打开 Ventoy2Disk

默认分区类型为MBR,我也建议使用MBR,兼容性会好点

选择U盘,点击安装即可初步制作完成。后续有升级可以直接升级,不用重新制作,这点很好。
默认Ventoy会扫描所有U盘内的 .iso 文件,我们放个镜像测试一下


初步完成制作
配置主题
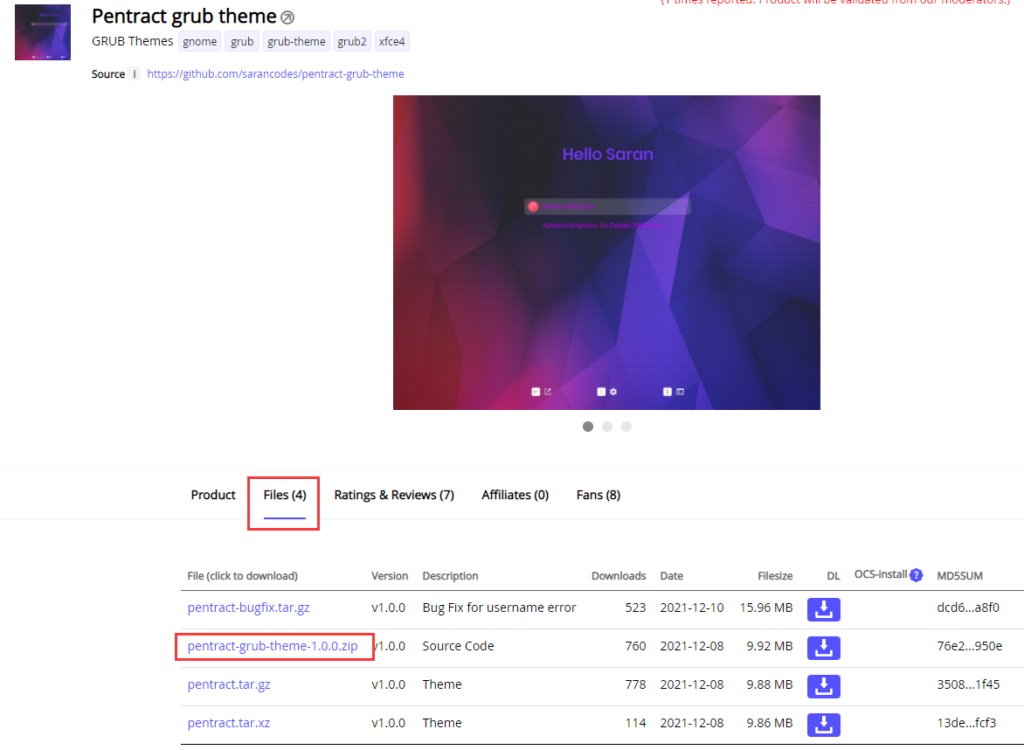
GRUB主题下载地址:https://www.gnome-look.org/browse?cat=109&ord=latest
挑选自己喜欢的主题并下载,建议不要选择4k的,因为启动时默认分辨率是1024*768,兼容性最好,1080p壁纸够了。

U盘根目录新建 themes 文件夹,将文件解压到 themes内

需要加上Ventoy的提示,修改themes/pentract/theme.txt,增加如下
+ hbox{
    left = 10%
    top = 95%
    width = 10%
    height = 25
    + label {text = "@VTOY_HOTKEY_TIP@" size = "1000" color = "#afaba6" align = "left"}
}

+ hbox{
    left = 90%
    top = 5
    width = 10%
    height = 25
    + label {text = "@VTOY_MEM_DISK@" color = "red" align = "left"}
}
根目录新建 ventoy 文件夹,在里面新建 ventoy.json 文件,添加主题配置
{
    "theme":{
        "file": "/themes/pentract/theme.txt"
    }
}
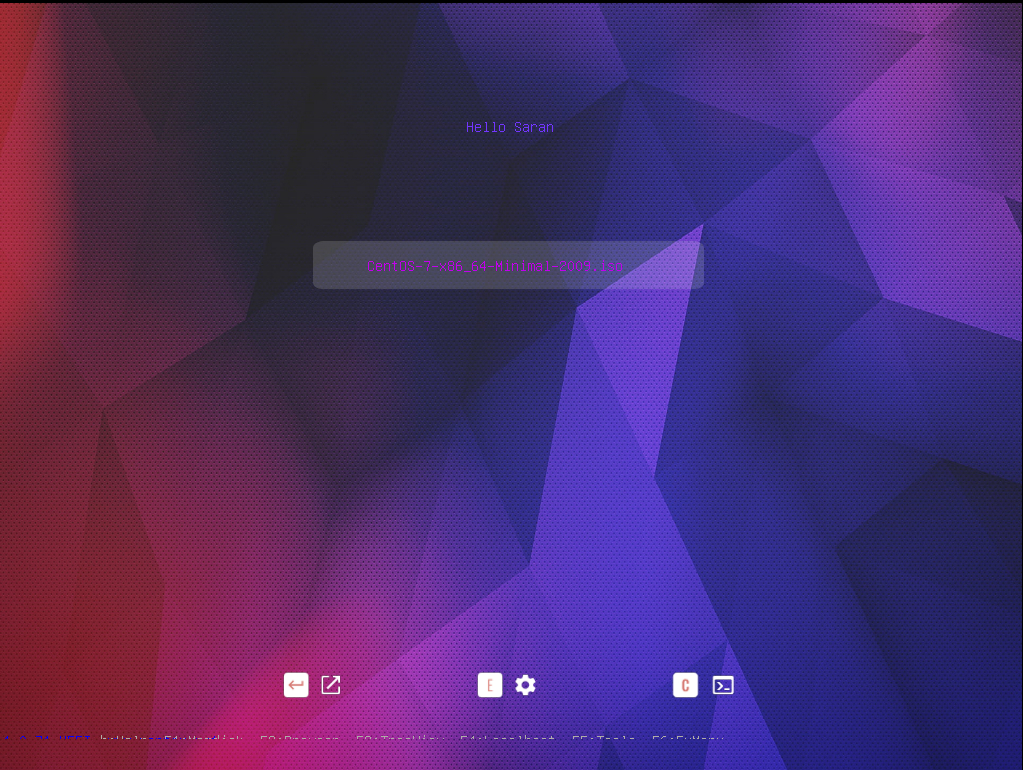
上机测试

底下提示有点问题,可以调整下 ventoy.json 和 theme.txt
{
    "theme":{
        "file": "/themes/pentract/theme.txt",
        "ventoy_left": "10%",
        "ventoy_top": "94%",
        "ventoy_color": "#afaba6"
    }
}
+ hbox{
    left = 10%
    top = 92%
    width = 10%
    height = 25
    + label {text = "@VTOY_HOTKEY_TIP@" size = "1000" color = "#afaba6" align = "left"}
}
最终效果如下

进阶配置
汉化底部提示,感觉没啥大用,但是还是写出来
打开 DiskGenius (自行下载,专业版才能编辑EFI分区),提取 VTOYEFI/grub/grub.cfg

搜索 VTOY_HOTKEY_TIP,两个都修改为
H:帮助 F1:内存启动 F2:浏览模式 F3:树形视图 F4:启动本地系统 F5:工具列表 F6:自定义菜单 F7:文本模式
保存后替换回去,效果如下

其他配置
作者为方便修改配置开发了可视化配置工具,已集成到安装程序中,打开 VentoyPlugson

点击启动,打开web页面
镜像别名


顺序
我这里使用了白名单,可以自己定义顺序

绕过Win11检查
位于全局控制插件中

其他功能看各位需要自行调整
兼容性列表
附上我自己测试的兼容性列表,挺多PE不能兼容的,分享一些收集、自制的 FirPE插件:FirPE 插件 提取码:Ixep,将7z插件放置于 /FirPE/Resource 下自动加载
| Legacy | UEFI | |
| WEPE 2.2 | √ | √ |
| FirPE 1.8.1 | √ | √ |
| Windows 7 | √ | × |
| Windows 10/11 | √ | √ |
| CentOS-7 | √ | √ |
| Kali Linux 2022.1 | √ | √ |
| iKuai 3.6.1 | × | × |
| PVE 7.1 | √ | √ |
| ESXi 6.7.0 | √ | √ |
| Debian 11.2 | √ | √ |

发表回复